• FOOD
  • PORTRAITS
  • ABOUT
Menu

Donny Tsang

Photography
  • FOOD
  • PORTRAITS
  • ABOUT
×
GS3A9303-1.jpg

Matcha Cake With Yuzu Curd And A Lesson In Reading The Recipe

Donny Tsang February 15, 2016

There's a reason why I don't bake. It takes too much effort and you REALLY have to follow the recipe. I tend to not thoroughly read the recipe, I'll skim through the recipe and just sort of get the bigger picture. So when I tried to make Molly's matcha cake, I totally failed. I totally failed at reading the very first sentence..."for an 8-inch cake, grease two 8-inch round cake pans and line the bottoms with parchment." Instead of using TWO cake pans, I used only one and created this massive dense thing that my friend said looks like cat food. I realized the mistake when the cake wasn't done baking at 28mins. Another lesson I learned is to not put a bunch of yuzu curd in the middle of the cake or else it'll just collapse.

Though in the end, this was still a pretty tasty cake.

You can head over to Molly's site for the matcha cake recipe. As for the yuzu curd, I used the lemon curd recipe from Epicurious and just replaced the lemon juice with yuzu juice.

GS3A9305-1

GS3A9257-2GS3A9251-1

GS3A9265-1

GS3A9277-1

GS3A9296-1

GS3A9304-1

GS3A9313-1GS3A9318-1

GS3A9329-1

In Food, Recipe Tags 2016, cake, curd, february, matcha, recipe, yuzu
Comment
GS3A9367-1.jpg

Mini XO Sauce Chicken Pies

Donny Tsang February 8, 2016

Happy Chinese New Year! I started 2016 with a food project. I wanted people to cook/bake/make Chinese pastries, I wanted people to get excited about Chinese pastries like they do with doughnuts and pies and cupcakes. So I thought one of the best ways was to get the food community...bloggers, photographers, instagrammers involved. There are so much great Chinese treats out there and people should know about them. 
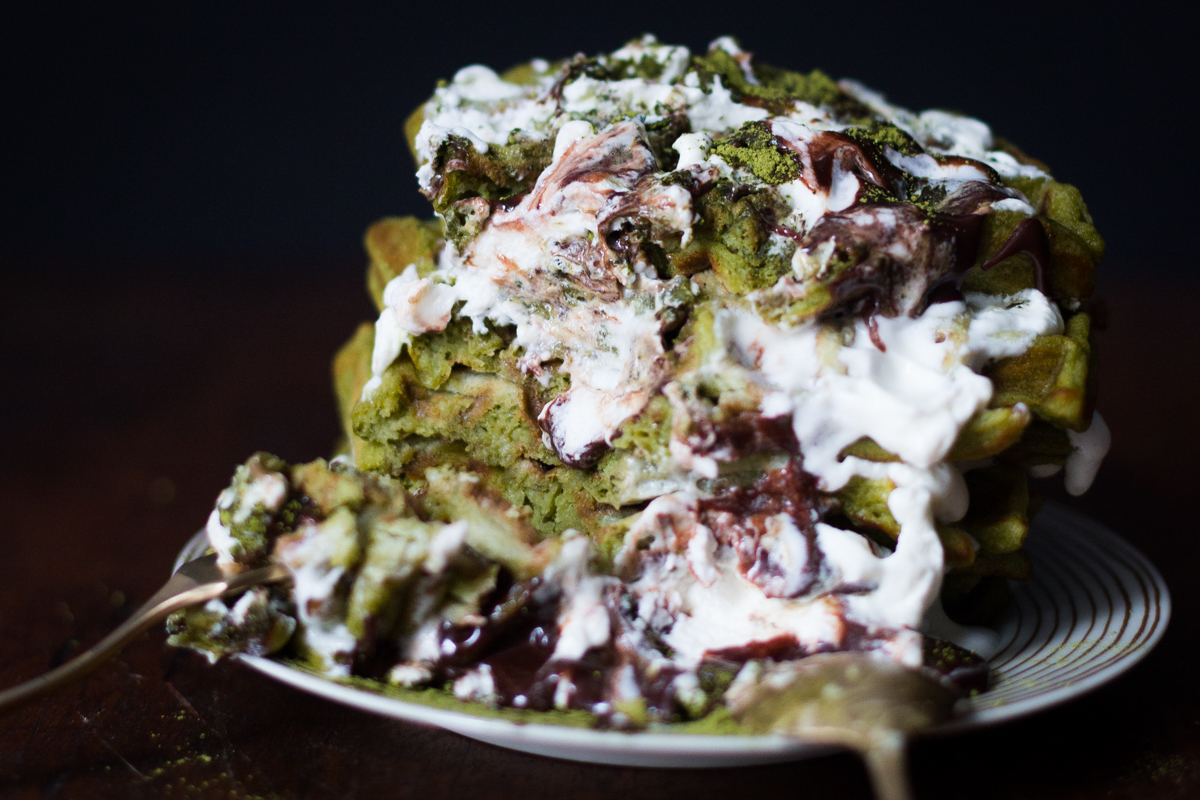
Here's what I made or attempted to make. The mini chicken pie. Yeah, it looks NOTHING like the ones you find in a Chinese bakery, also the crust is totally wrong. I used the Four & Twenty Blackbirds pie crust recipe which is awesome and flaky but it should be more crumbly and cookie like. ALSO, I had spent days trying to find out how they shape the pies. In the end I made them more like mini chicken pot pies with the crimping and stuff. Now I'm tempted to go intern at a Chinese bakery just so I know how to properly make this.

But this as a Hong Kong chicken pie "inspired" creation, it's pretty darn tasty.

Did you make or bake something for my project? Remember to include the hashtag #bakewithdonny so I can see and please include a link in the comments below! Hopefully you have learned something cool from this project.

GS3A9364-1

GS3A9333-1GS3A9343-1

GS3A9339-1

GS3A9345-1GS3A9351-1

GS3A9355-1

GS3A9354-1

GS3A9356-1GS3A9360-1

GS3A9365-1

GS3A9379-1

Makes 4 pies 1.5 lb chicken thighs (4 pieces) 1/2 onion diced 2 cloves of garlic grated 1 teaspoon grated ginger 2 tablespoons xo sauce 1 tablespoon flour 1 tablespoon soy sauce 1 teaspoon sesame oil 1 tablespoon fermented bean sauce (optional) A can of chicken stock 1 egg Oil Salt + pepper

First, make the pie crust. I used the Four & Twenty Blackbirds pie crust recipe. I made enough for a double crust pie. When the dough is resting in the fridge, make the filling.

Pre-heat the oven, 350 degrees.

Remove the skin from the thighs and lay them flat on a sheet pan. Season both sides. Then lay a piece of parchment paper on top follow by another pan...follow by something heavy (also oven safe). This is to keep the skin flat. Put the pieces of skin in the oven and bake for 40mins. When they're done, place the skins onto paper towels to soak up the oil and then dice them up for sprinkling.

Remove the bone from the thighs and cut up the meat into 1/2 inch cubes.

In a pan on medium high heat, add some oil. Toss in the chicken and cook till you don't see any pink on the outside. Add in the diced onion and cook for couple minutes. Add in garlic and ginger. Add in all the sauces (xo sauce, sesame oil, soy sauce, fermented bean sauce). Then season to taste.

*Note: The xo sauce I bought is not the same one I used to buy. I couldn't find the brand I wanted and settled on another brand. The jar that I got isn't as strong in the xo sauce flavor so after tasting the filling, I added another tablespoon. I suggest you give the filling a taste as well and tweak as you like. You might want more fermented bean sauce flavor or maybe more sesame oil flavor.

Add the flour to the filling mixture, stir and add the chicken stock. Let mixture simmer for few minutes. Then take it off the heat and let cool.

*Note: I only added enough stock to go half way up to the pieces of chicken. I didn't want it to get too saucy. If you like it more saucy, add more stock.

Increase the oven temperature to 375 degrees.

While the filling is cooling, roll out the dough. Line each mini pie pan with dough and some overhang. Use a fork and poke some holes in the dough. Spoon in the filling. Place another piece of dough on top and then crimp the edges.

Beat up 1 egg and brush all the pies with the egg. Put the pies into the oven and bake till golden brown, roughly 45-50mins. When the pies are just about to turn golden brown, sprinkle chicken skin on top. Finish baking.

Make a pot of oolong tea and eat a pie.

In Food, Recipe Tags 2016, baking, chinese pastries, cooking, february, recipe
2 Comments
GS3A8893-1.jpg

Matcha Waffles With Yuzu Whipped Cream And Chocolate Sauce

Donny Tsang January 26, 2016

Initially I bought matcha powder because I wanted to make Molly's matcha oreos but.....I got lazy. Oh and this was back in November 2015. So the jar of matcha powder just sat on my desk, very sad and lonely. And then couple weeks ago I made a batch of waffles to go with my fried chicken so I decided to make matcha waffles. I had all the ingredients anyway. I sort of took Molly's idea of matcha oreos, the combination of green tea and chocolate, and used that with my waffles. Also, drizzling chocolate in images is very sexy. Right? GS3A8892-1

Serves 2 Things you'll need: 2 teaspoons matcha powder + 1 teaspoon for dusting afterwards 2 tablespoons melted butter 1 cup heavy cream 2 tablespoons yuzu juice 2 tablespoons sugar Any waffle recipe, I used this one Chocolate sauce, I used this method from Food52 to make mine Waffle maker/machine/iron

Steps: Make the chocolate sauce, set it aside.

In a chilled bowl, whip the heavy cream till soft peaks. Add sugar and yuzu juice and continue to whip until stiff peaks. Cover it and put it in the fridge while you make the waffles.

Turn on the oven and set it to the lowest temperature.

Make the waffle batter and add in the matcha powder.

Before making all the waffles, I would suggest putting a spoonful of batter into the waffle maker, cook it, and taste it. Tweak waffle batter to your taste. Also, depending on what brand of matcha powder you get, you may need more matcha.

Brush the waffle maker with the melted butter and add a scoop of the waffle batter. Cook waffles according to your waffle maker's instructions. When done, place the waffles on a cooling rack on top of a sheet pan and stick it into the oven to keep warm.

To assemble, place a waffle on a plate, smear the whipped cream on top, place a second waffle on top then cream then waffle....etc. To finish, top with whipped cream, drizzle chocolate sauce, and a dusting of matcha powder.

GS3A8834-1GS3A8843-1 GS3A8868-1GS3A8883-1

GS3A8887-1

GS3A8895-2

waffles

In Food, Recipe Tags 2016, cooking, january, matcha, recipe, waffles, yuzu
Comment
IMG_8643-1.jpg

Clay Pot Rice With Chinese Sausages And Cured Pork Belly

Donny Tsang January 20, 2016

I've been thinking about my childhood a lot lately. Started late last year when I had an idea about traveling to Hong Kong and just eat. Eat the food that I ate when I was a kid and to just learn more about Hong Kong food. What I know about Hong Kong food is just snippets of memories, certain things I remember eating. Most of what I know about Hong Kong food is what I grew up eating in Los Angeles and tv shows. So I decided in 2016, I want to cook and eat more Hong Kong and Cantonese food. And what's more Cantonese than dim sum and roast meats? Clay pot rice!

GS3A4418-1

Clay pot rice is very simple. It's just rice and whatever veggie or meat or seafood cooked in a clay pot. It's super comforting. I have cooked this in a rice cooker many times but I wanted to do it properly so I went and spent $7 on a clay pot.

Serves 2 Things you'll need: 1 cup rice (soaked in water for 30mins and rinsed) 1.5 cup water 2 Chinese sausages 1 piece of Chinese cured pork belly Scallions Handful of muy choi (preserved mustard greens), optional Oil Clay pot rice soy sauce (which you can get in a bottle or make your own by combining light soy sauce, dark soy sauce, sesame oil, and sugar)

Of course you DON'T need to cook it in a clay pot. This can be done in a rice cooker or a Dutch oven.

IMG_8620-6 
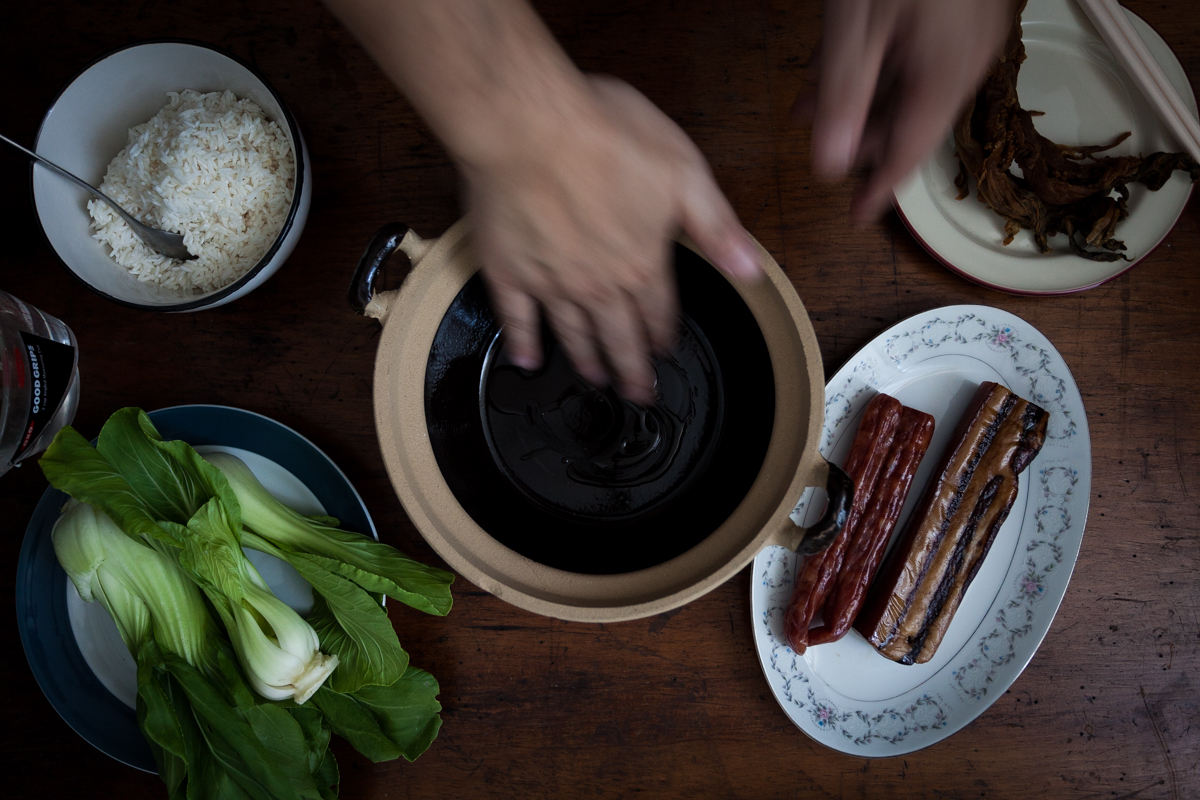
Coat the bottom of the pot with oil.

IMG_8628-7 
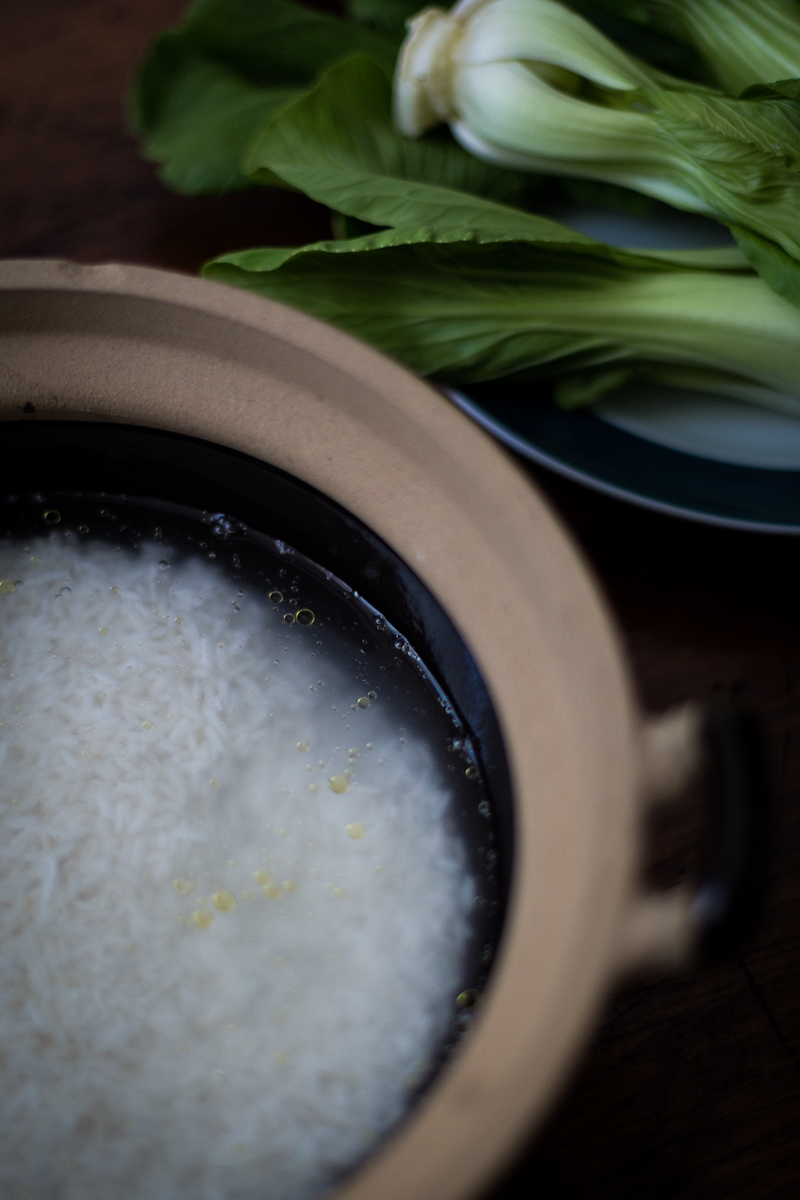
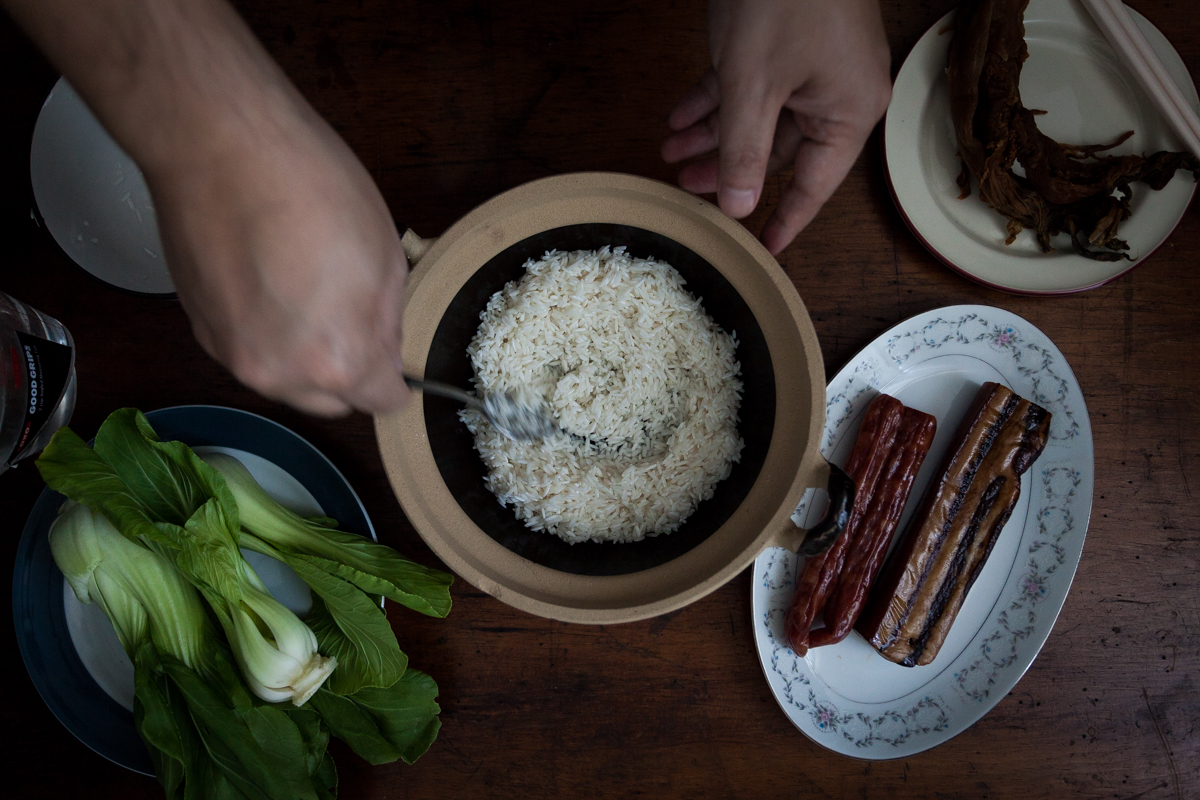
Add the cup of rice and water to the pot. Put the lid on and put the pot on high flames to bring the water to a boil. Here's the tricky part which I didn't master. Many recipes I found online have different ways of telling when the rice is ready or different times. A person said to put the lid on and cook for 10mins while another person said when the water is about 80% gone. I feel it's hard to go by minutes because it depends on how much rice you're cooking. Also none of them were clear if I was suppose to cook it for 10mins after the water boils or 10mins total.

So I kind of went with my gut. Spoilers, at the end the rice could've used another 5-7mins of cooking. Next time...

GS3A4368-1GS3A4370-2 While the rice is cooking, occasionally stir the rice. This is to prevent the rice from sticking to the pot.

When the rice is about/close to done aka 80% of the water is gone, place the sausages, pork belly, muy choi (rinsed and chopped) on top of the rice. Put the lid back on, lower the flame to low, and let it cook for 13mins.

OK, so here's a tough part. After 13mins, turn the flames to high and tilt the pot at an angle. The point here is to create the popular crusty/crispy rice that everyone loves. But to do that, you have to cook the sides as well. I found it difficult to hold the pot tilting it on all the different sides while trying not to burn my hands. Gotta figure this one out too. Online says, about 2mins on all sides.

After you're done cooking the sides, turn the heat off, and just let everything steam inside for 10mins. This is a good time to prep your soy sauce if you're making your own or for me, figuring out how to style this. Food styling isn't my strong point.

GS3A4398-3 
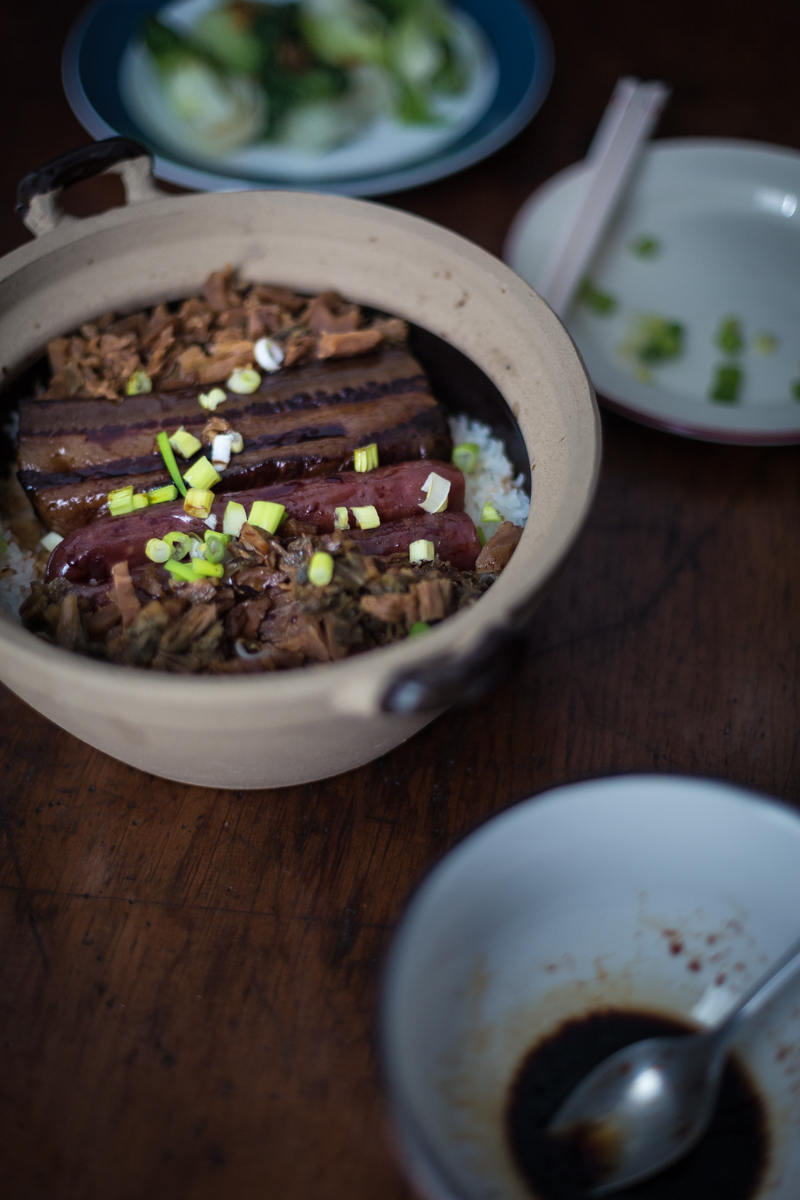
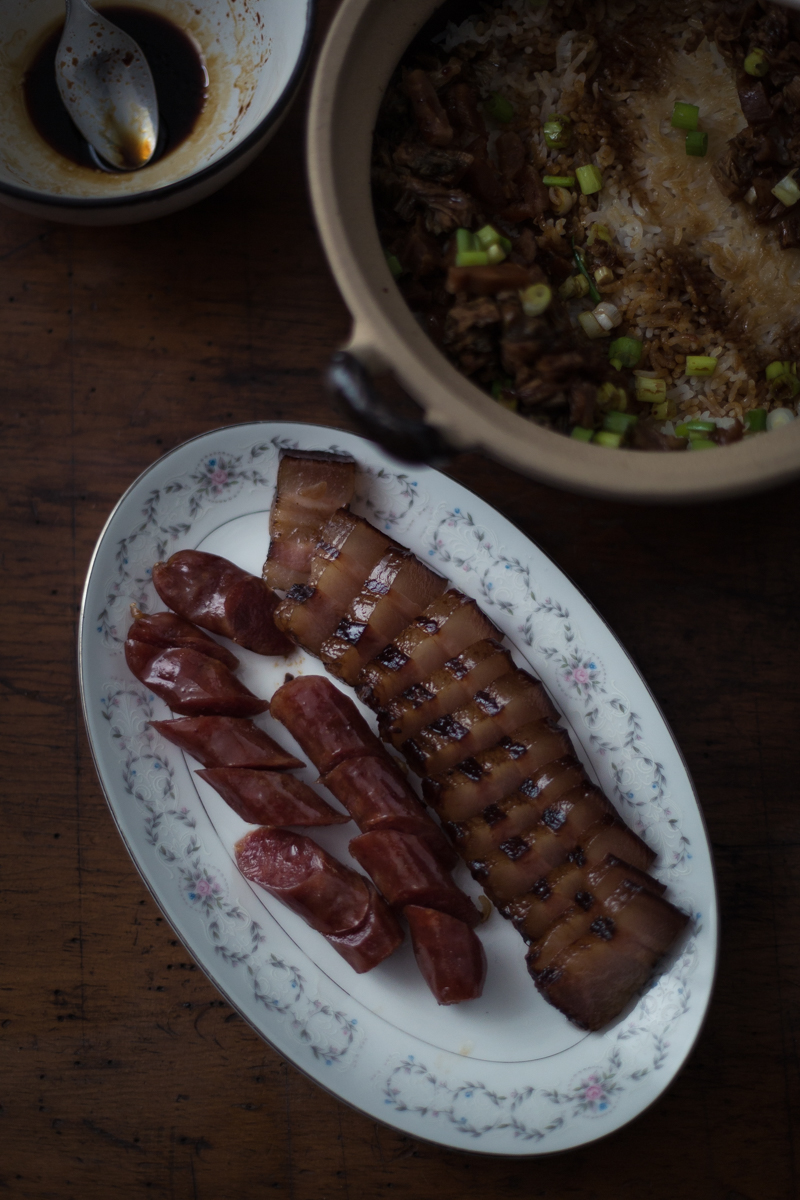
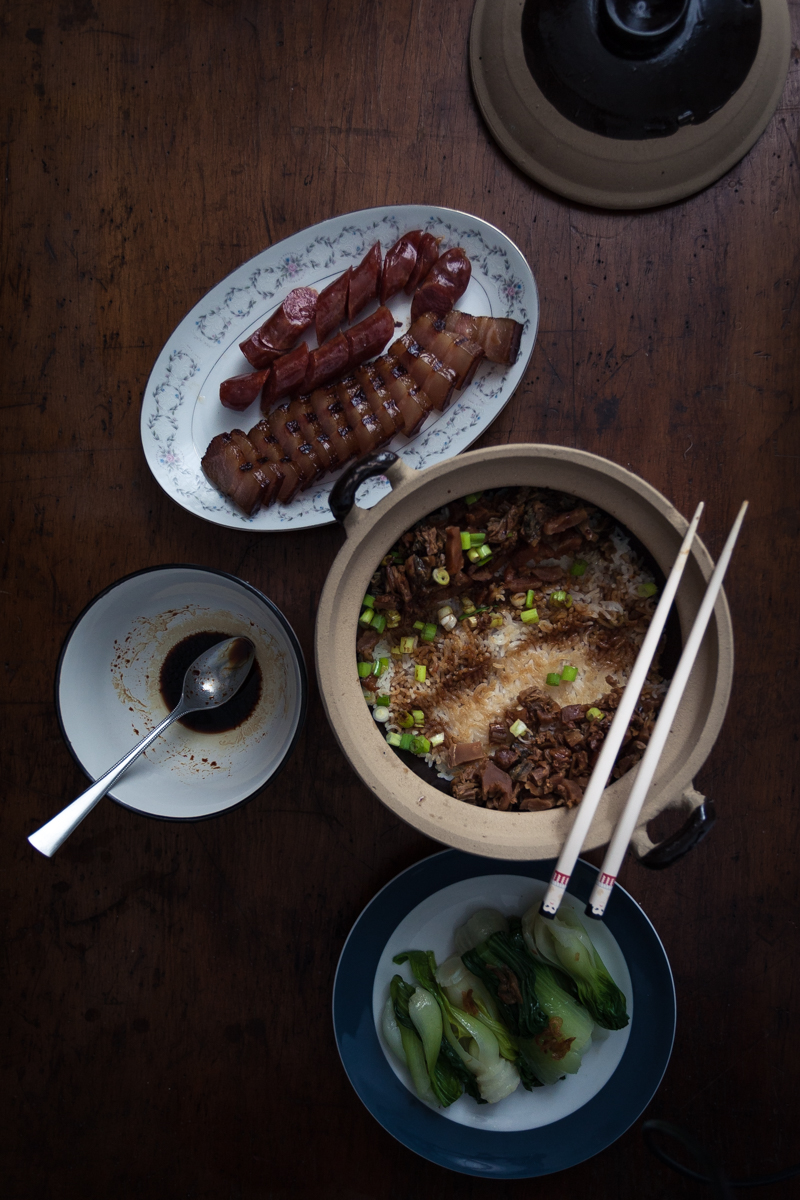
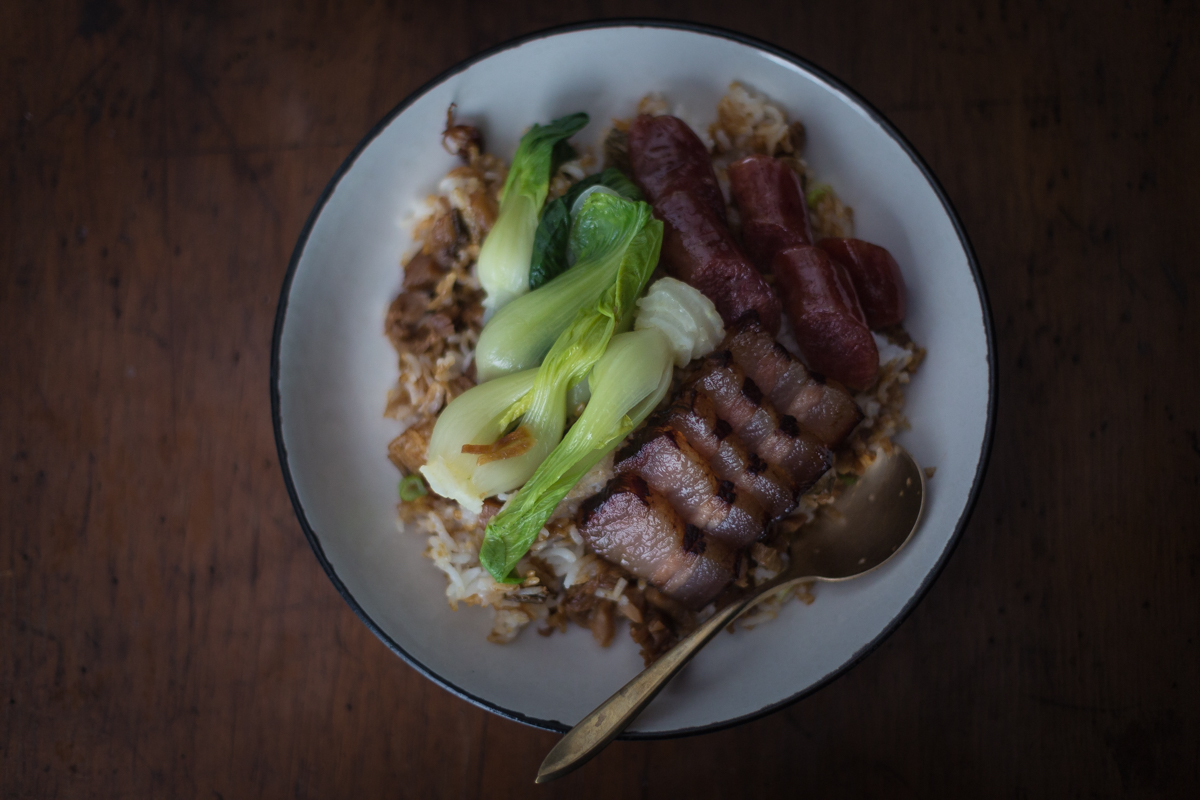
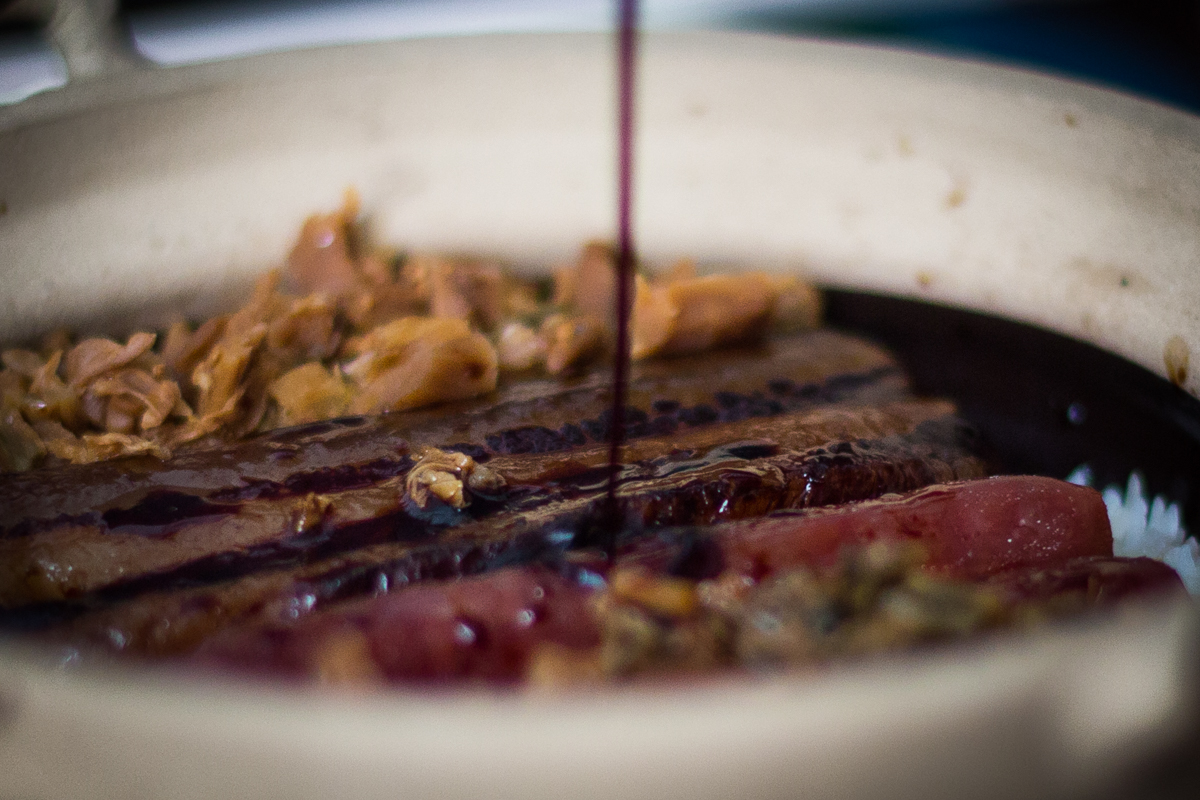
After it has been steaming for 10mins, take the lid off and drizzle the soy sauce and finish it with some scallions. I served it with some bok choy.
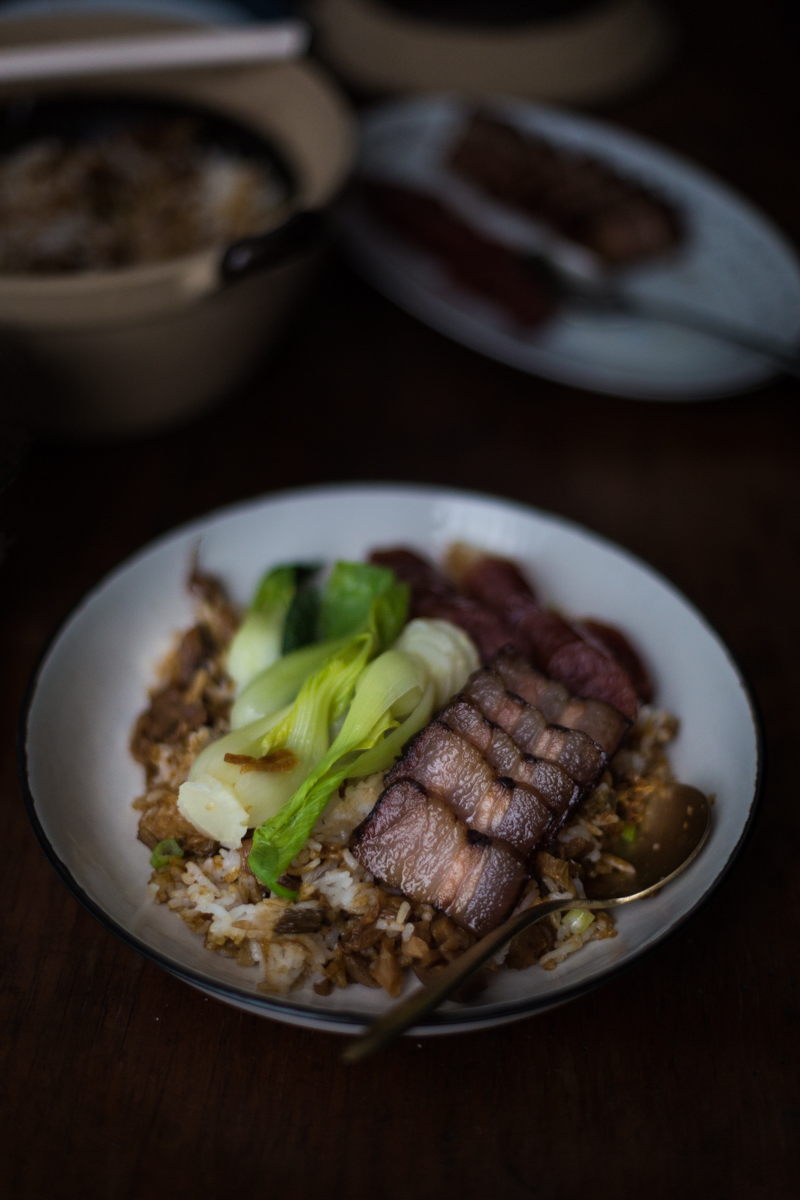
Of course if you're being fancy and sharing it with someone, take the sausages and pork belly out and slice them.

Hopefully you'll have some crispy rice....unlike mine.

GS3A4408-5

GS3A4406-4GS3A4409-8

IMG_8659-1

GS3A4410-Edit-9

In Food, Recipe Tags 2016, cantonese, clay pot rice, cooking, hong kong, january, recipe
Comment
← NewerOlder →

Search Posts

Archive Block
This is example content. Double-click here and select a page to create an index of your own content. Learn more
Post Archive
  • Photography
 

Featured Posts

Summary Block
This is example content. Double-click here and select a page to feature its content. Learn more
Featured
Oct 24, 2025
Cursus Amet
Oct 24, 2025
Oct 24, 2025
Oct 17, 2025
Pellentesque Risus Ridiculus
Oct 17, 2025
Oct 17, 2025
Oct 10, 2025
Porta
Oct 10, 2025
Oct 10, 2025
Oct 3, 2025
Etiam Ultricies
Oct 3, 2025
Oct 3, 2025
Sep 26, 2025
Vulputate Commodo Ligula
Sep 26, 2025
Sep 26, 2025
Sep 19, 2025
Elit Condimentum
Sep 19, 2025
Sep 19, 2025
Sep 12, 2025
Aenean eu leo Quam
Sep 12, 2025
Sep 12, 2025
Sep 5, 2025
Cursus Amet
Sep 5, 2025
Sep 5, 2025
Aug 29, 2025
Pellentesque Risus Ridiculus
Aug 29, 2025
Aug 29, 2025
Aug 22, 2025
Porta
Aug 22, 2025
Aug 22, 2025