• FOOD
  • PORTRAITS
  • ABOUT
Menu

Donny Tsang

Photography
  • FOOD
  • PORTRAITS
  • ABOUT
×
GS3A8893-1.jpg

Matcha Waffles With Yuzu Whipped Cream And Chocolate Sauce

Donny Tsang January 26, 2016

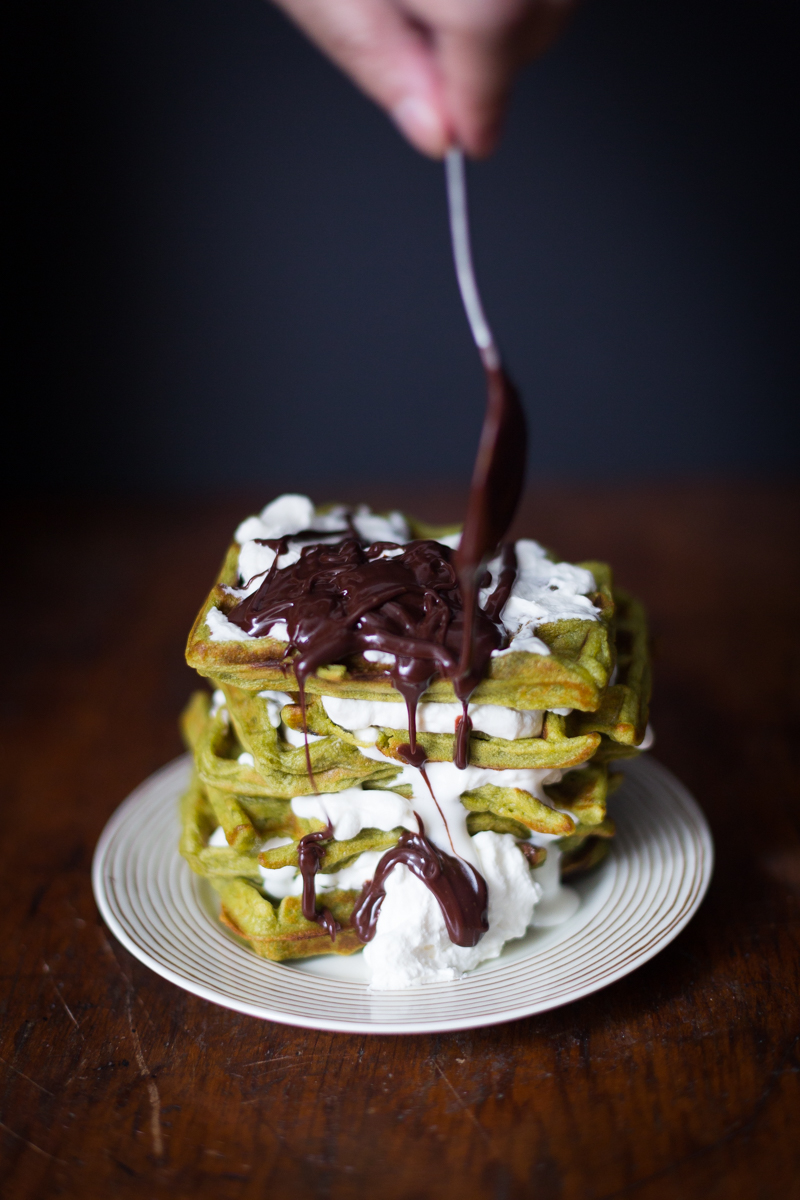
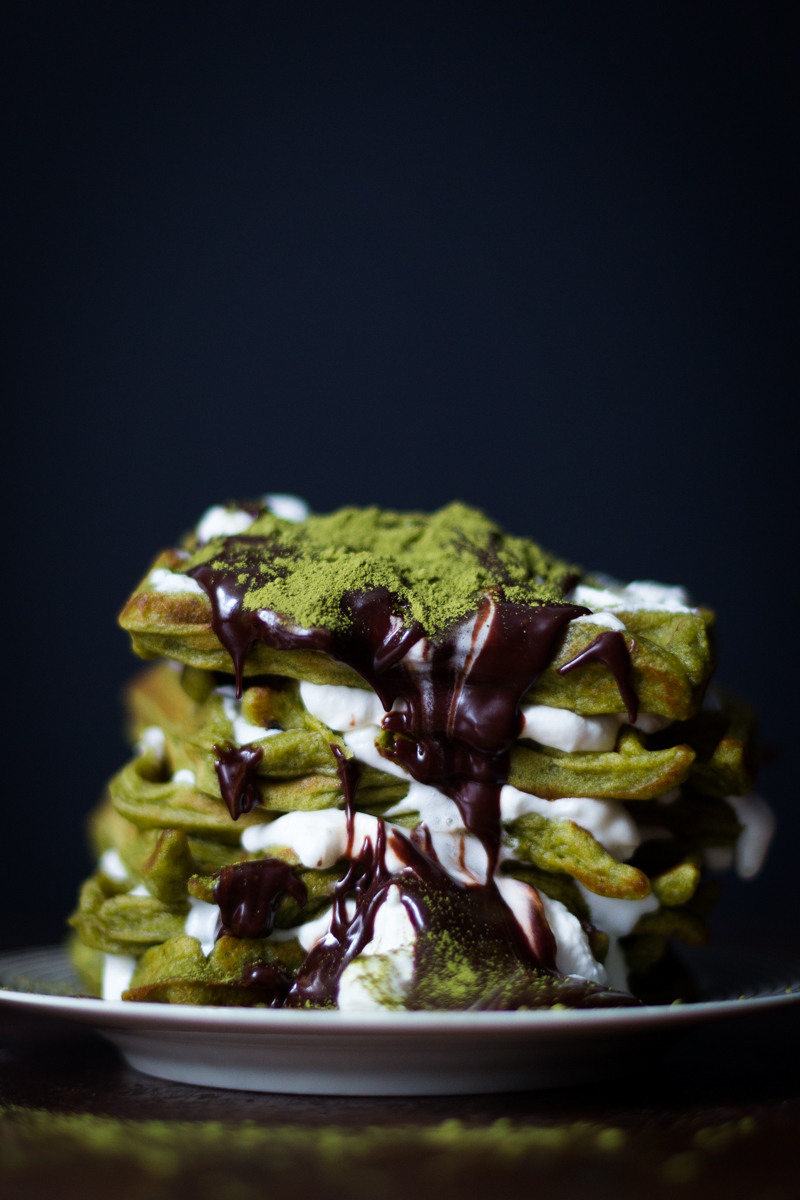
Initially I bought matcha powder because I wanted to make Molly's matcha oreos but.....I got lazy. Oh and this was back in November 2015. So the jar of matcha powder just sat on my desk, very sad and lonely. And then couple weeks ago I made a batch of waffles to go with my fried chicken so I decided to make matcha waffles. I had all the ingredients anyway. I sort of took Molly's idea of matcha oreos, the combination of green tea and chocolate, and used that with my waffles. Also, drizzling chocolate in images is very sexy. Right? GS3A8892-1

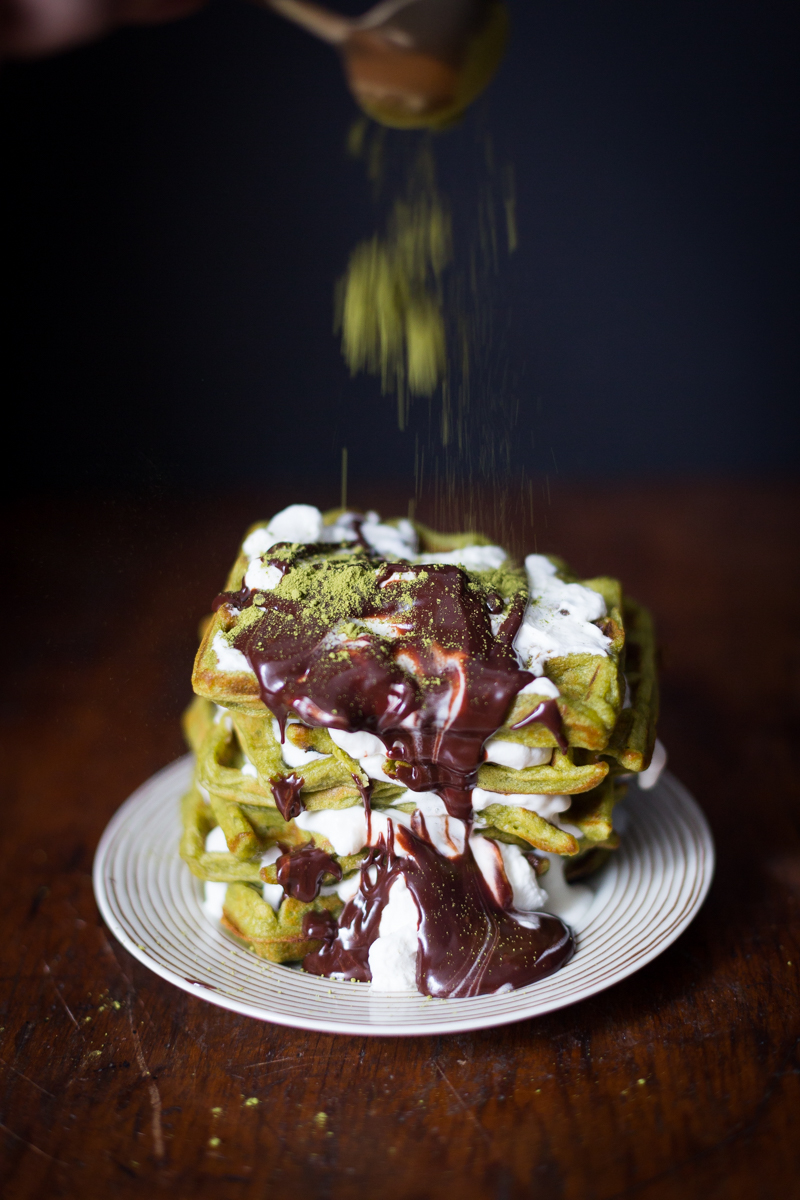
Serves 2 Things you'll need: 2 teaspoons matcha powder + 1 teaspoon for dusting afterwards 2 tablespoons melted butter 1 cup heavy cream 2 tablespoons yuzu juice 2 tablespoons sugar Any waffle recipe, I used this one Chocolate sauce, I used this method from Food52 to make mine Waffle maker/machine/iron

Steps: Make the chocolate sauce, set it aside.

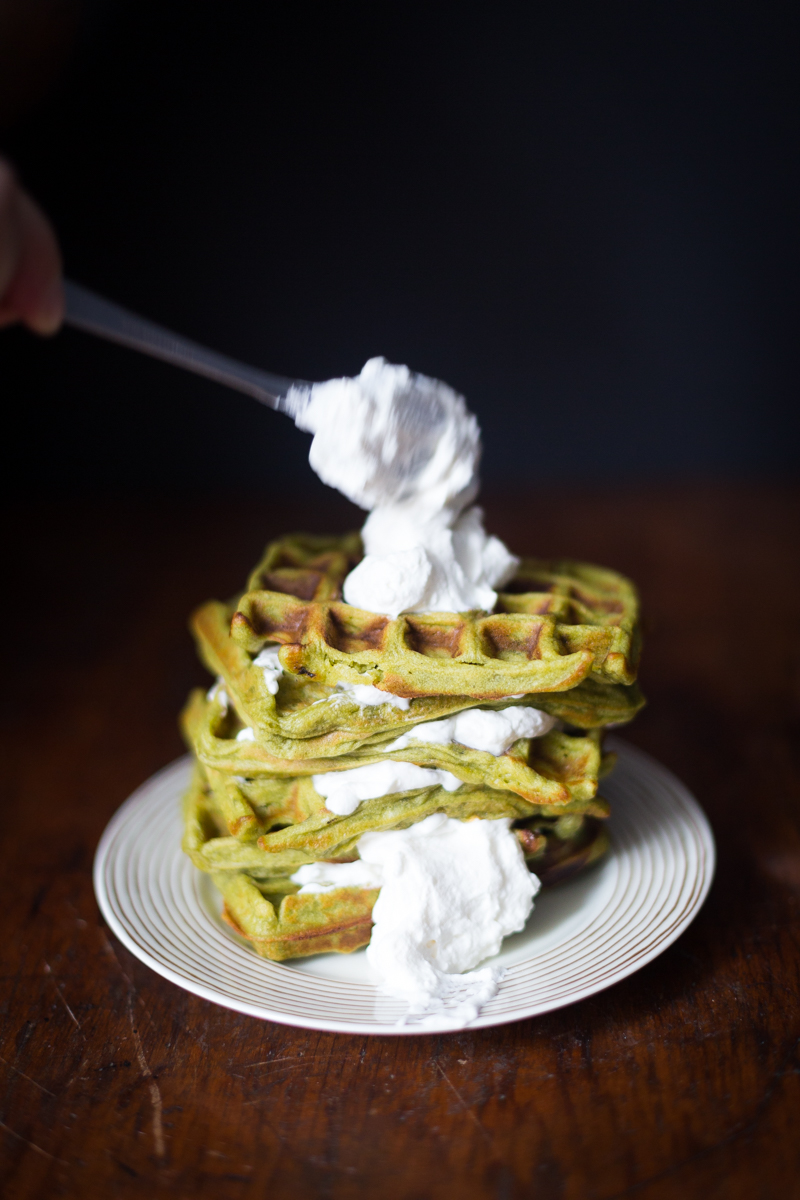
In a chilled bowl, whip the heavy cream till soft peaks. Add sugar and yuzu juice and continue to whip until stiff peaks. Cover it and put it in the fridge while you make the waffles.

Turn on the oven and set it to the lowest temperature.

Make the waffle batter and add in the matcha powder.

Before making all the waffles, I would suggest putting a spoonful of batter into the waffle maker, cook it, and taste it. Tweak waffle batter to your taste. Also, depending on what brand of matcha powder you get, you may need more matcha.

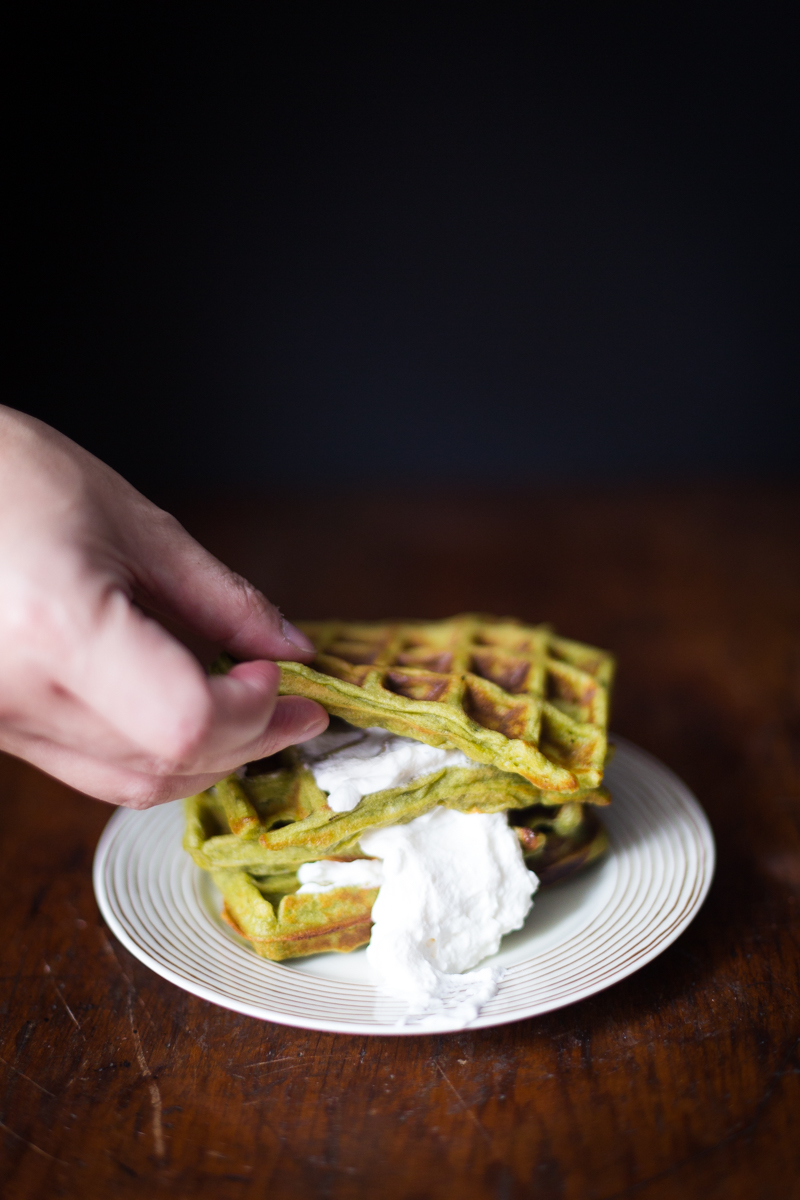
Brush the waffle maker with the melted butter and add a scoop of the waffle batter. Cook waffles according to your waffle maker's instructions. When done, place the waffles on a cooling rack on top of a sheet pan and stick it into the oven to keep warm.

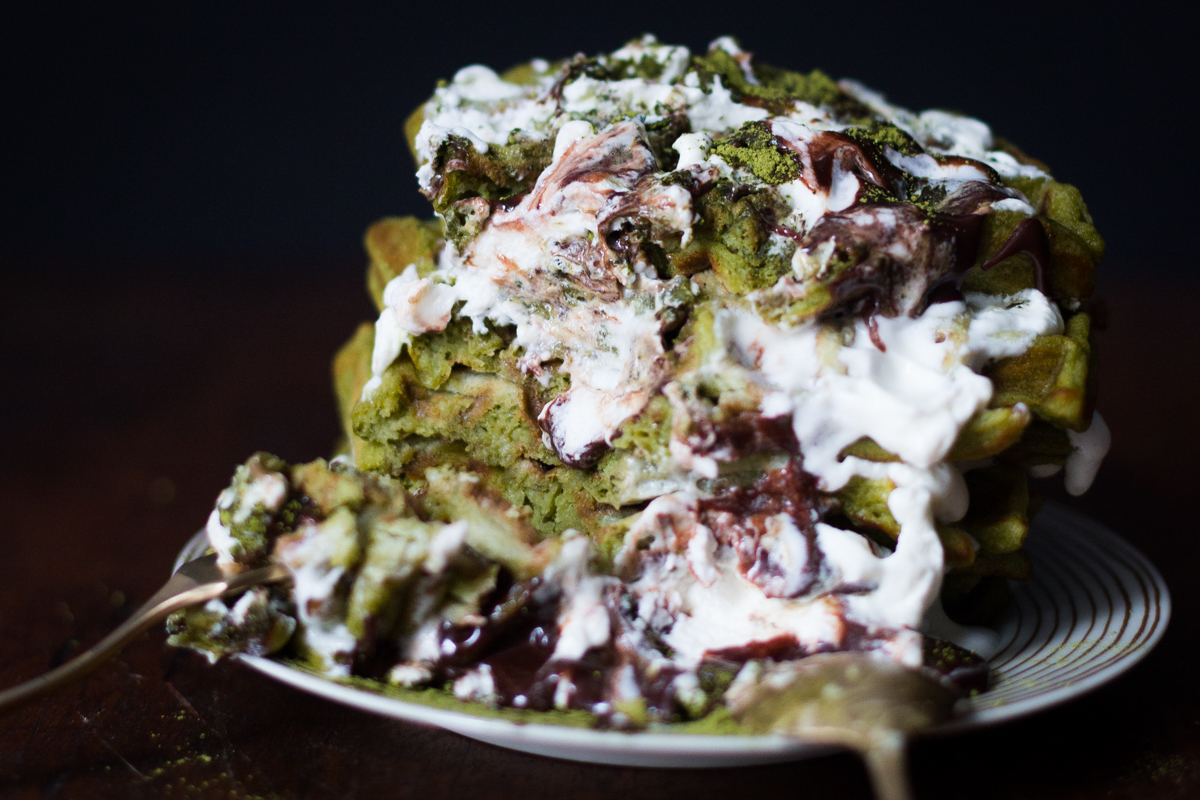
To assemble, place a waffle on a plate, smear the whipped cream on top, place a second waffle on top then cream then waffle....etc. To finish, top with whipped cream, drizzle chocolate sauce, and a dusting of matcha powder.

GS3A8834-1GS3A8843-1 GS3A8868-1GS3A8883-1

GS3A8887-1

GS3A8895-2

waffles

In Food, Recipe Tags 2016, cooking, january, matcha, recipe, waffles, yuzu
Comment
IMG_8643-1.jpg

Clay Pot Rice With Chinese Sausages And Cured Pork Belly

Donny Tsang January 20, 2016

I've been thinking about my childhood a lot lately. Started late last year when I had an idea about traveling to Hong Kong and just eat. Eat the food that I ate when I was a kid and to just learn more about Hong Kong food. What I know about Hong Kong food is just snippets of memories, certain things I remember eating. Most of what I know about Hong Kong food is what I grew up eating in Los Angeles and tv shows. So I decided in 2016, I want to cook and eat more Hong Kong and Cantonese food. And what's more Cantonese than dim sum and roast meats? Clay pot rice!

GS3A4418-1

Clay pot rice is very simple. It's just rice and whatever veggie or meat or seafood cooked in a clay pot. It's super comforting. I have cooked this in a rice cooker many times but I wanted to do it properly so I went and spent $7 on a clay pot.

Serves 2 Things you'll need: 1 cup rice (soaked in water for 30mins and rinsed) 1.5 cup water 2 Chinese sausages 1 piece of Chinese cured pork belly Scallions Handful of muy choi (preserved mustard greens), optional Oil Clay pot rice soy sauce (which you can get in a bottle or make your own by combining light soy sauce, dark soy sauce, sesame oil, and sugar)

Of course you DON'T need to cook it in a clay pot. This can be done in a rice cooker or a Dutch oven.

IMG_8620-6 
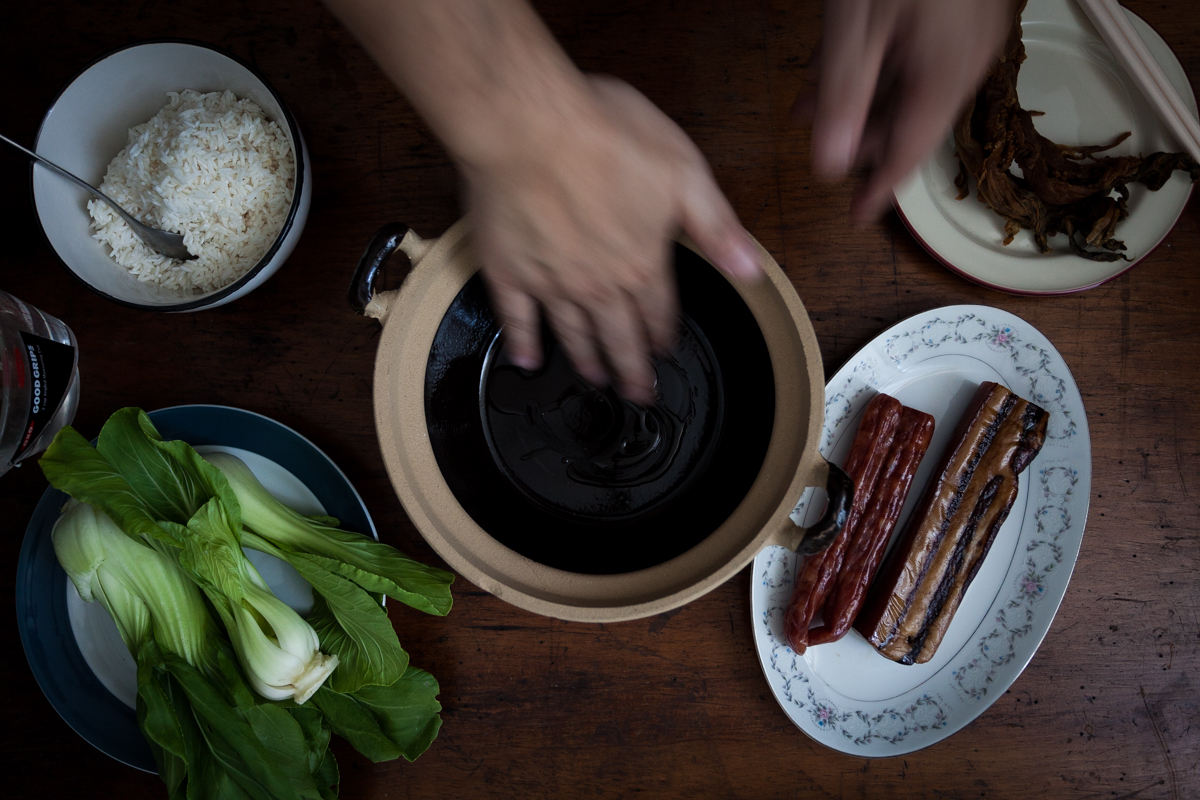
Coat the bottom of the pot with oil.

IMG_8628-7 
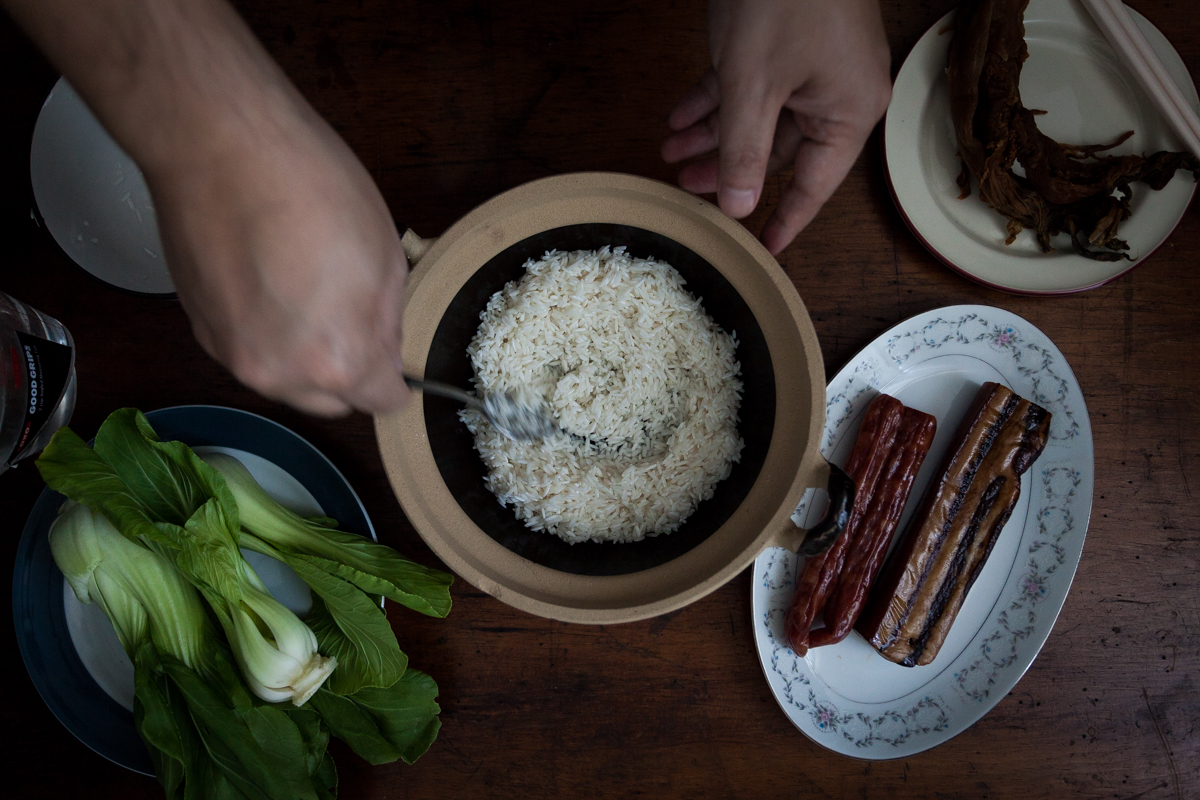
Add the cup of rice and water to the pot. Put the lid on and put the pot on high flames to bring the water to a boil. Here's the tricky part which I didn't master. Many recipes I found online have different ways of telling when the rice is ready or different times. A person said to put the lid on and cook for 10mins while another person said when the water is about 80% gone. I feel it's hard to go by minutes because it depends on how much rice you're cooking. Also none of them were clear if I was suppose to cook it for 10mins after the water boils or 10mins total.

So I kind of went with my gut. Spoilers, at the end the rice could've used another 5-7mins of cooking. Next time...

GS3A4368-1GS3A4370-2 
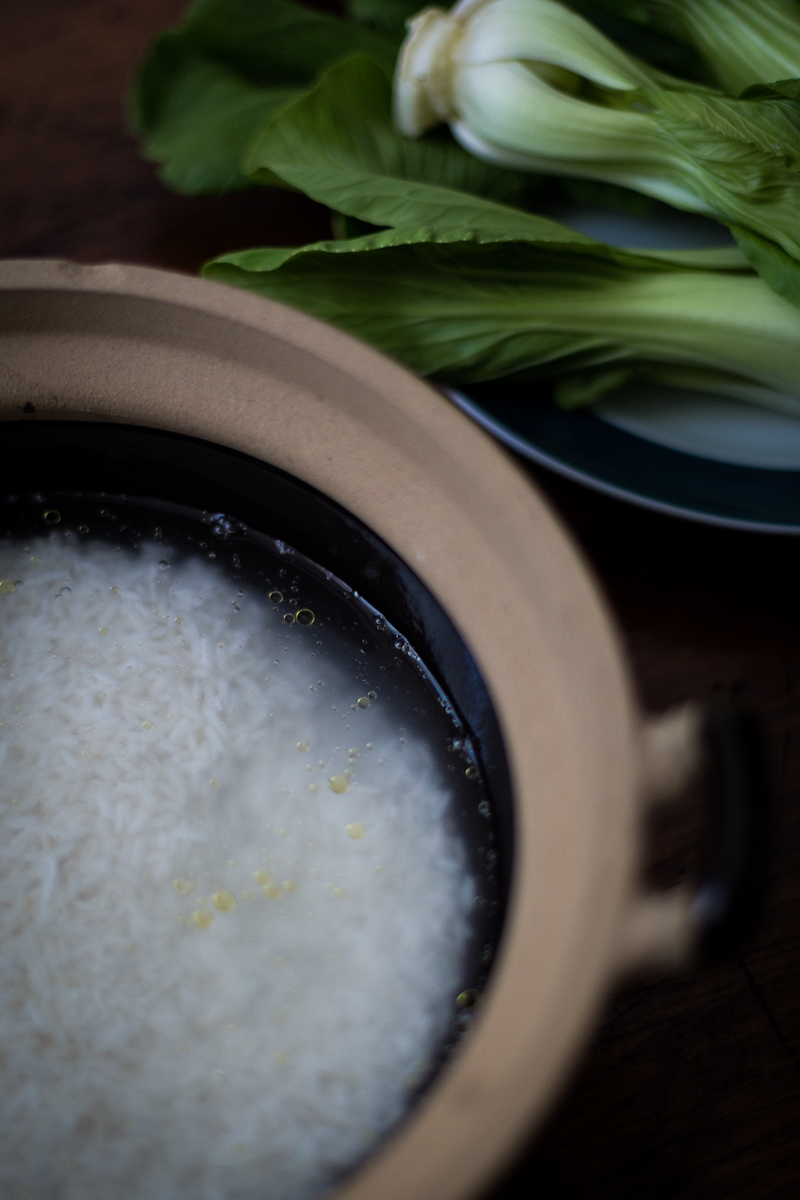
While the rice is cooking, occasionally stir the rice. This is to prevent the rice from sticking to the pot.

When the rice is about/close to done aka 80% of the water is gone, place the sausages, pork belly, muy choi (rinsed and chopped) on top of the rice. Put the lid back on, lower the flame to low, and let it cook for 13mins.

OK, so here's a tough part. After 13mins, turn the flames to high and tilt the pot at an angle. The point here is to create the popular crusty/crispy rice that everyone loves. But to do that, you have to cook the sides as well. I found it difficult to hold the pot tilting it on all the different sides while trying not to burn my hands. Gotta figure this one out too. Online says, about 2mins on all sides.

After you're done cooking the sides, turn the heat off, and just let everything steam inside for 10mins. This is a good time to prep your soy sauce if you're making your own or for me, figuring out how to style this. Food styling isn't my strong point.

GS3A4398-3 
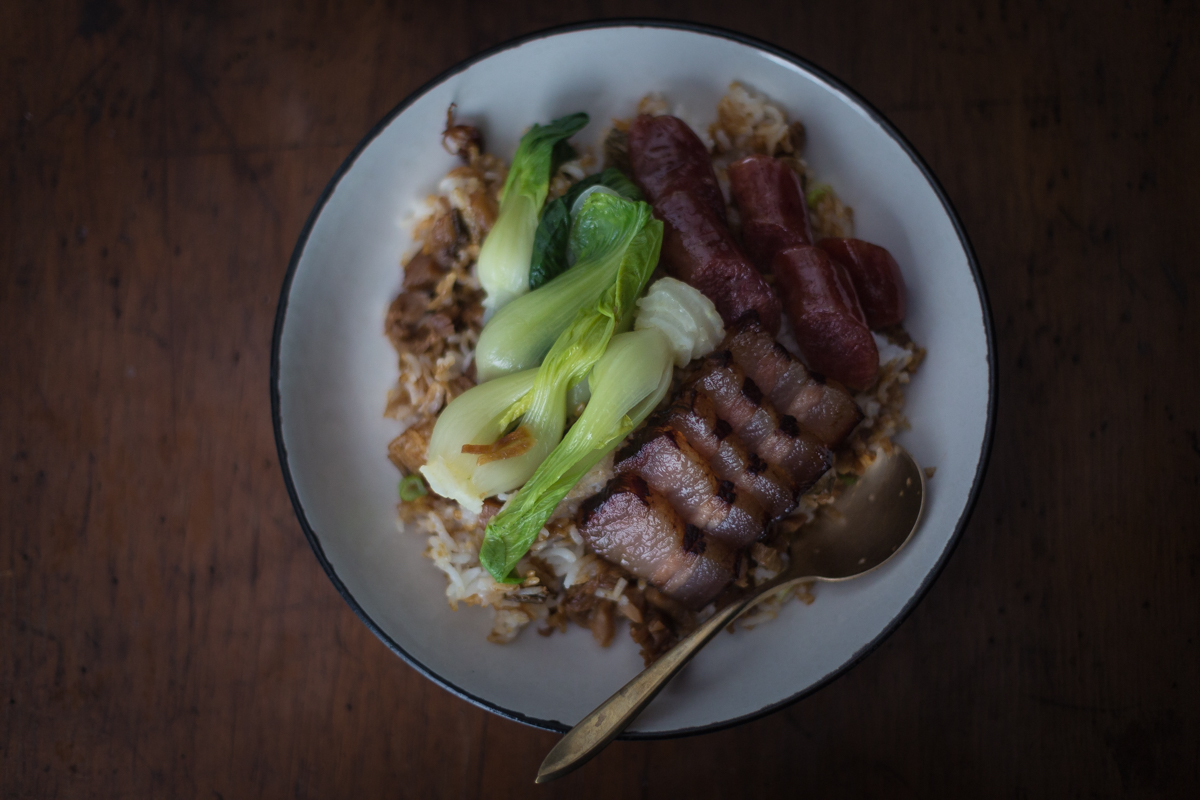
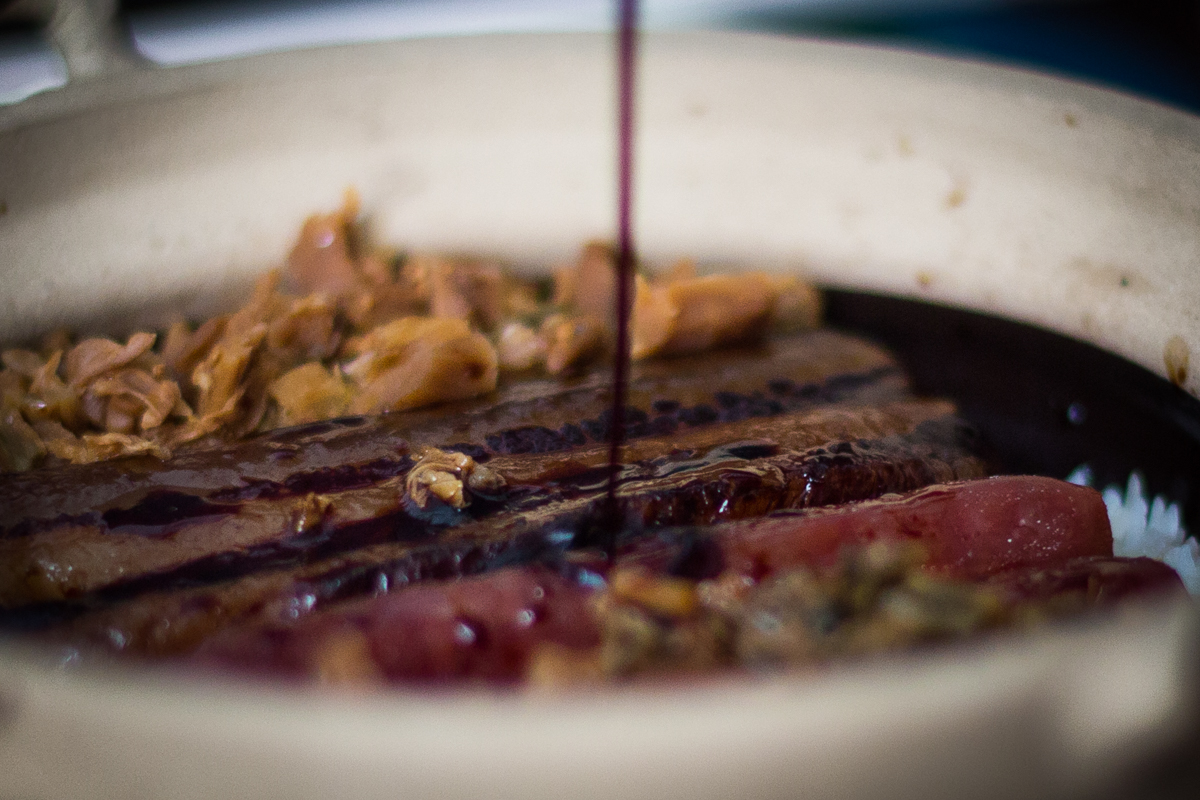
After it has been steaming for 10mins, take the lid off and drizzle the soy sauce and finish it with some scallions. I served it with some bok choy.

Of course if you're being fancy and sharing it with someone, take the sausages and pork belly out and slice them.

Hopefully you'll have some crispy rice....unlike mine.

GS3A4408-5

GS3A4406-4GS3A4409-8

IMG_8659-1

GS3A4410-Edit-9

In Food, Recipe Tags 2016, cantonese, clay pot rice, cooking, hong kong, january, recipe
Comment
GS3A9965-25.jpg

Behind-The-Scenes At Emily

Donny Tsang February 9, 2015
Emily Pizza

It's been a while since I had such a strong reaction to pizza. That first bite of Emily's signature pie (mozzarella, pistachios, truffle sottocenere, honey), totally blew my mind. It's been difficult to stray away from this pie but trust me when I say everything on the menu is superb.

Thank you Matt and Emily for letting me spent some time in the restaurant and snapping some photos. Check it out after the jump.

Emily Pizza
Emily Pizza
Emily Pizza
Emily Pizza
Emily Pizza
Emily Pizza
Emily Pizza
Emily Pizza
Emily Pizza
Emily Pizza
Emily Pizza
In Behind the Scenes, Food, NYC, Photography, Restaurants, Brooklyn Tags 2015, brooklyn, Clinton Hill, Emily, january, Matt Hyland, pizza, Pizza Loves Emily
Comment
GS3A9853-3.jpg

Dough Doughnuts

Donny Tsang January 21, 2015

Dough 
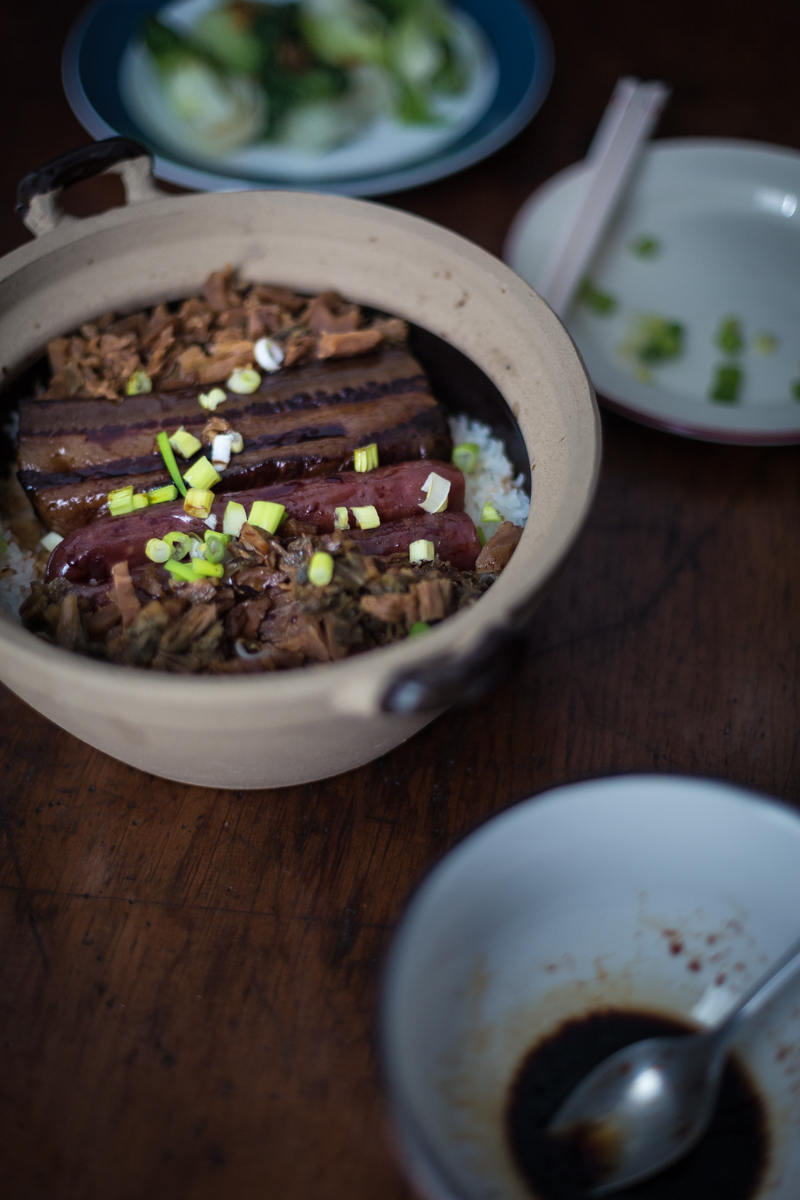
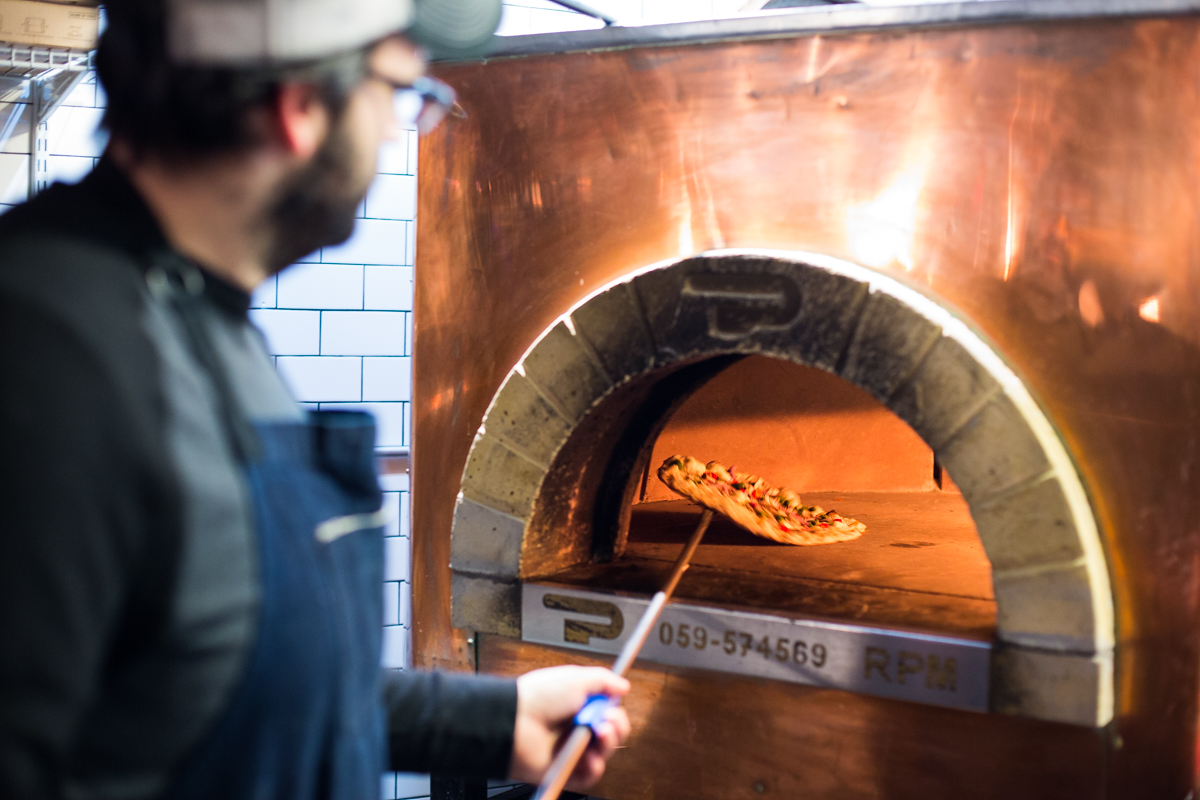
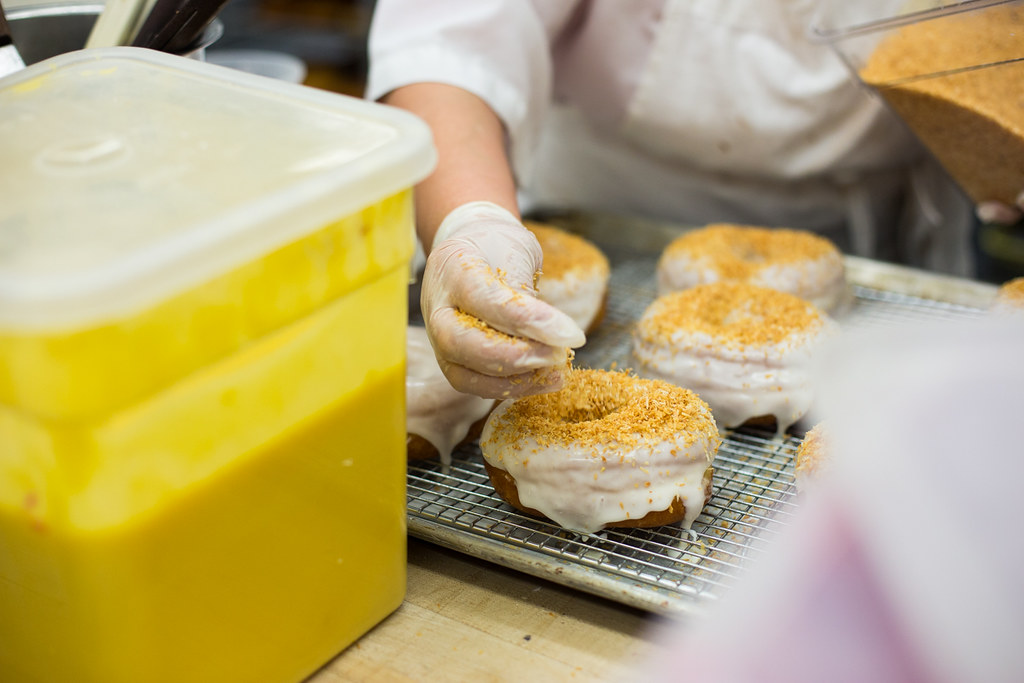
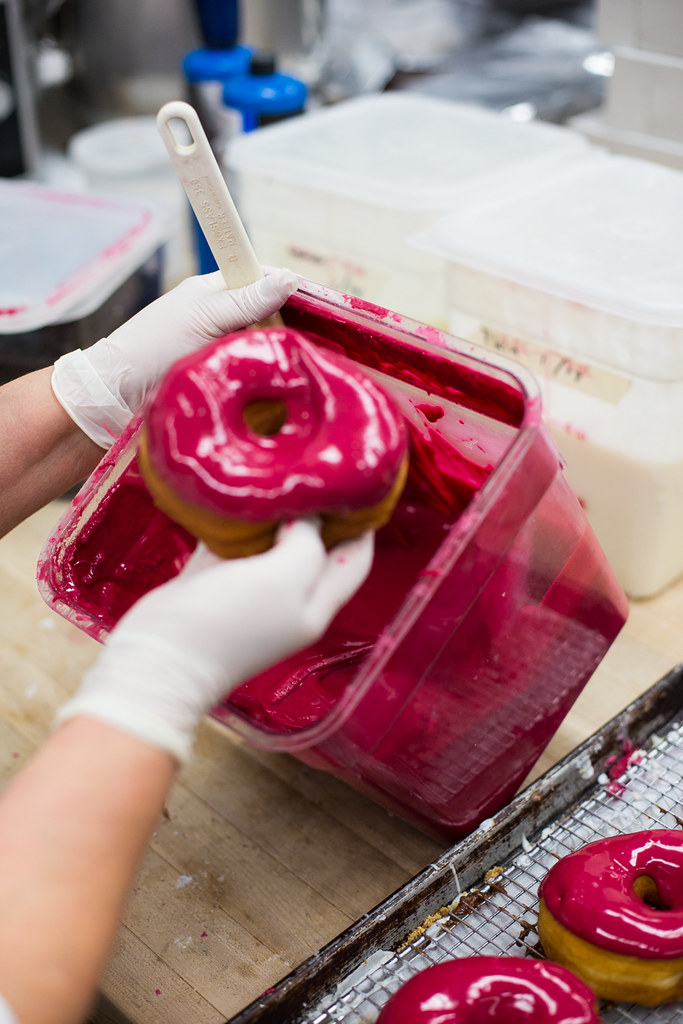
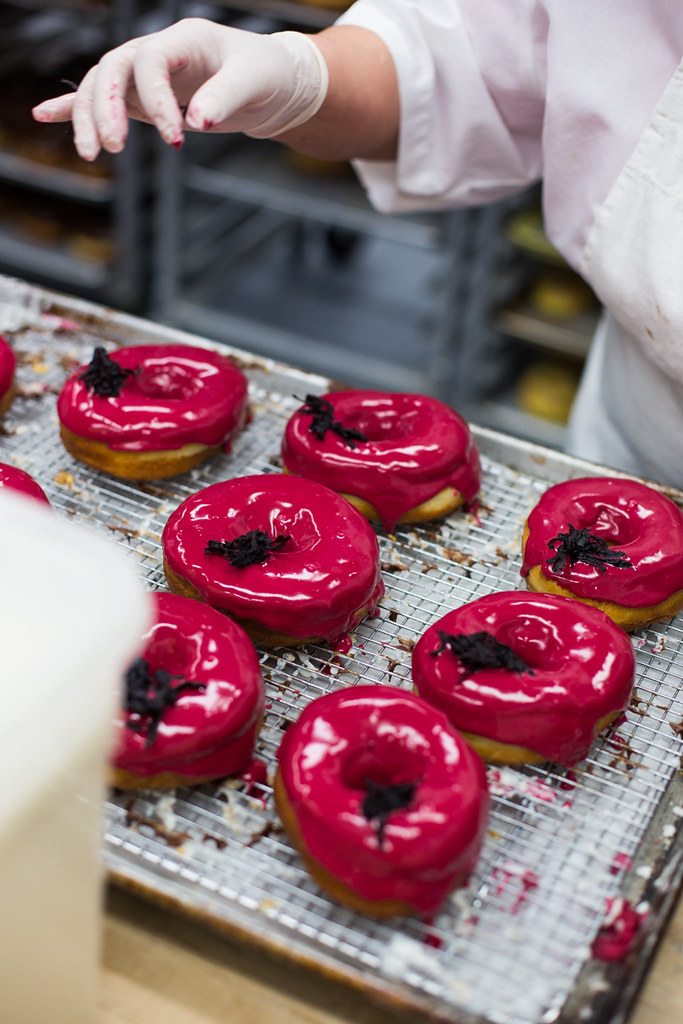
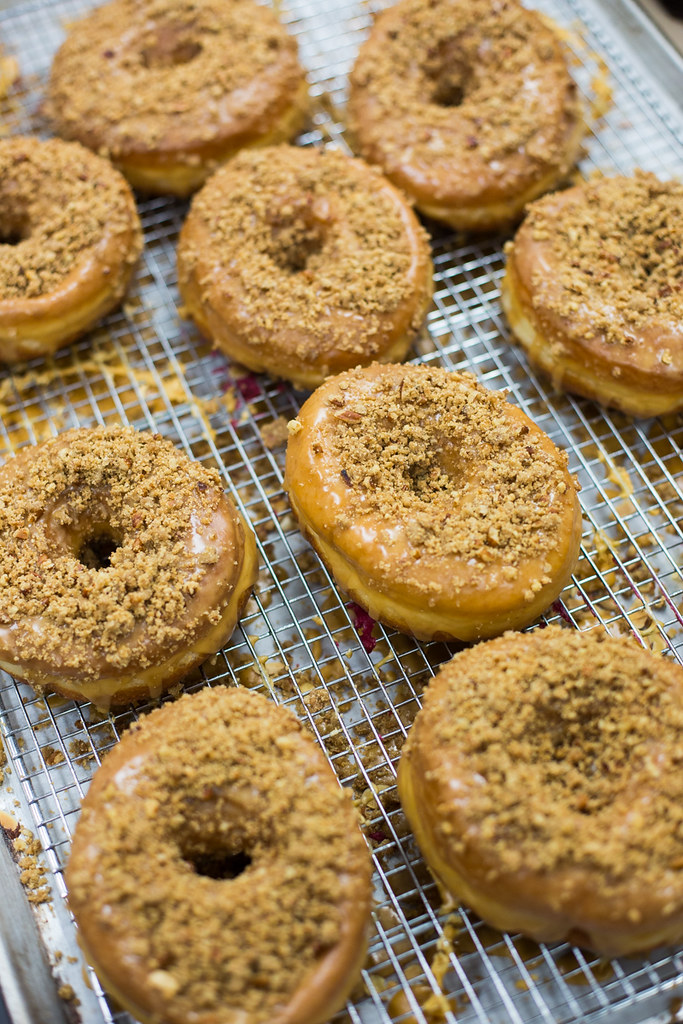
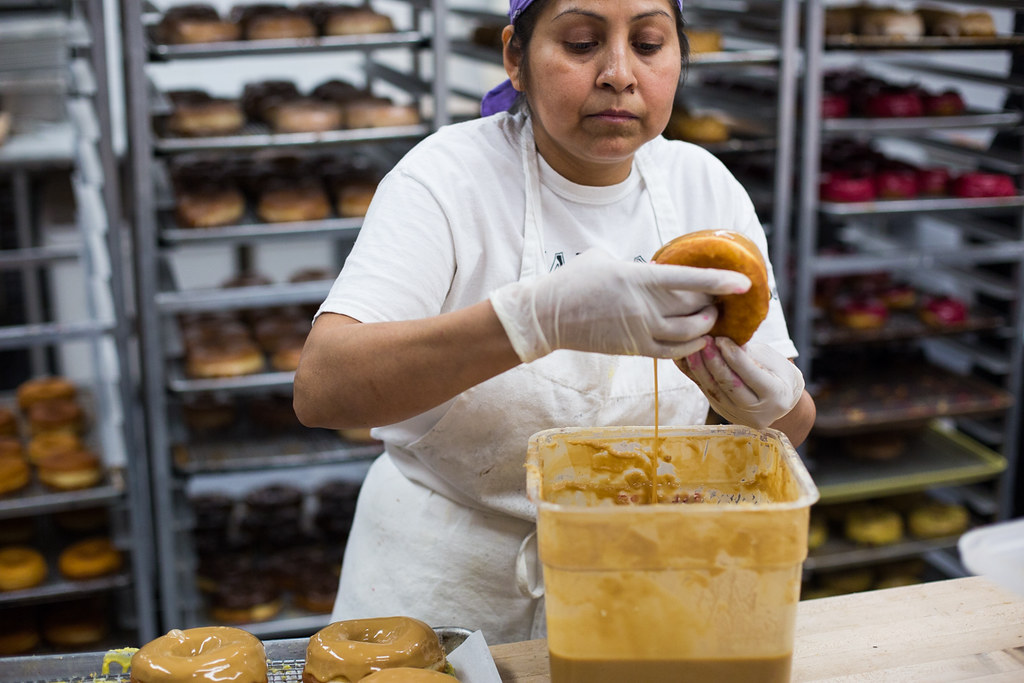
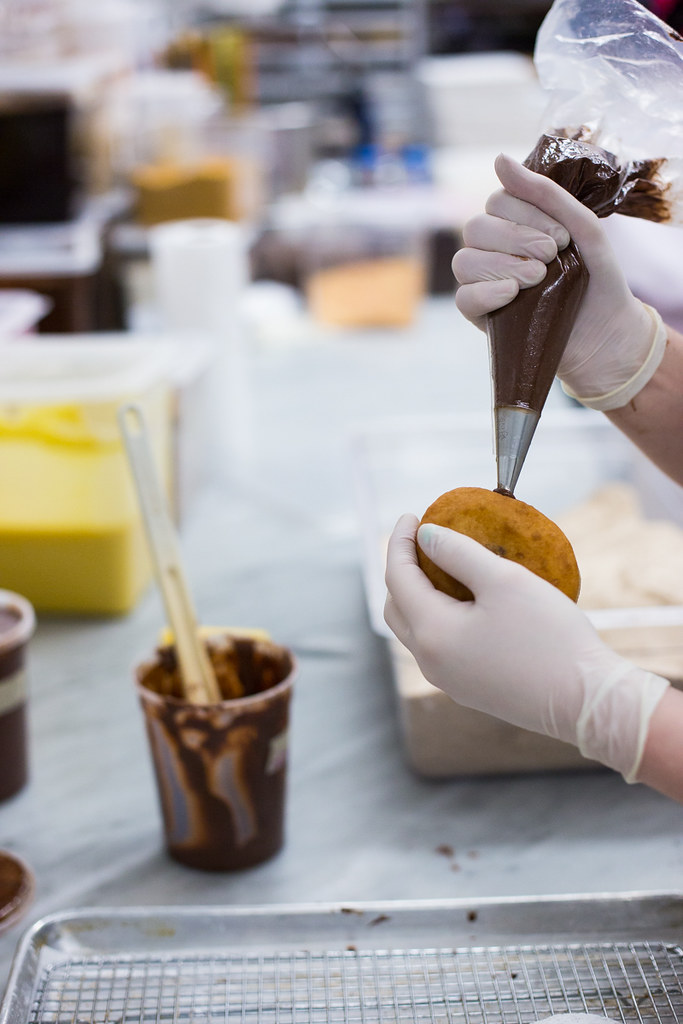
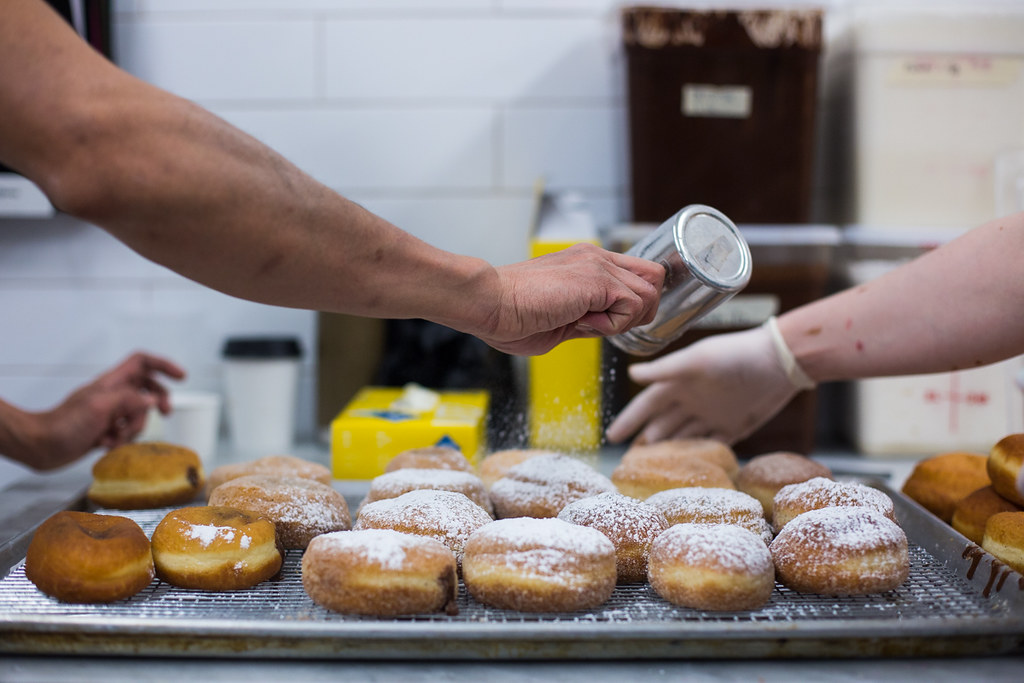
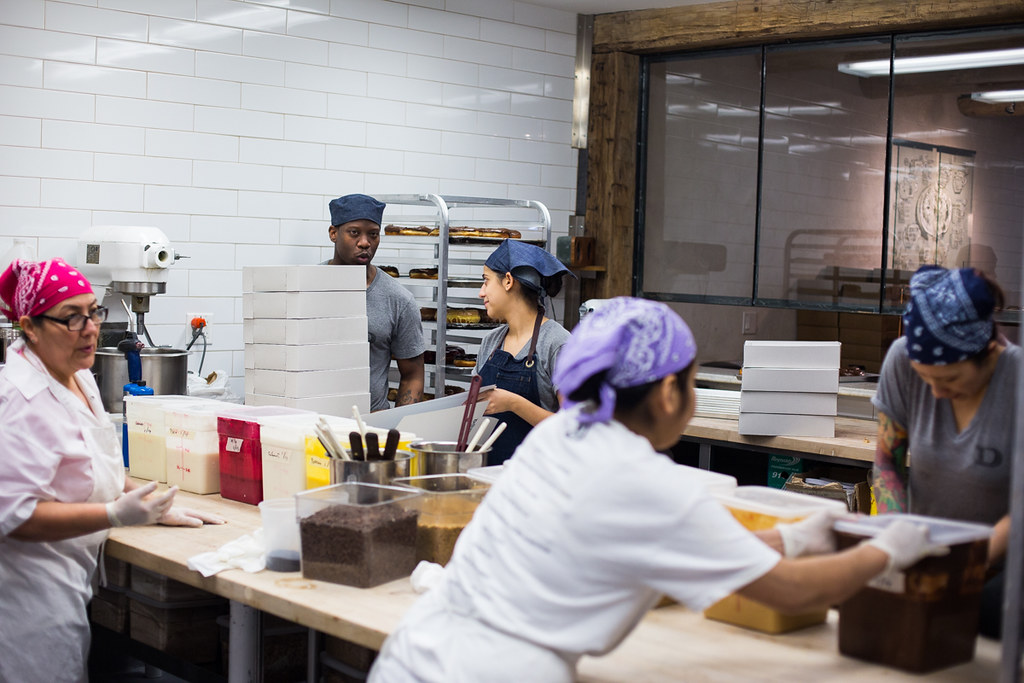
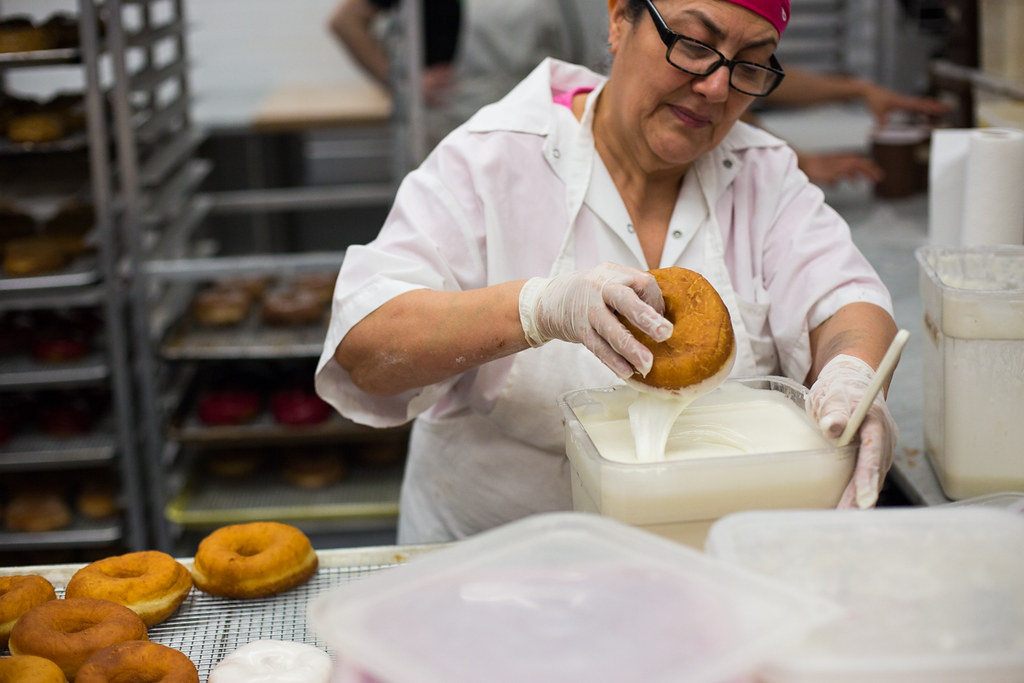
I recently got a chance to spend some time in the kitchen at Dough, in Manhattan. Here are some behind-the-scenes photos. Dough

DoughDough

DoughDough

Dough

DoughDough

Dough

Dough

In Behind the Scenes, Food, NYC, Photography Tags 2015, donuts, dough, doughnuts, fany gerson, food, food photography, january, manhattan, nyc
Comment
Older →

Search Posts

Archive Block
This is example content. Double-click here and select a page to create an index of your own content. Learn more
Post Archive
  • Photography
 

Featured Posts

Summary Block
This is example content. Double-click here and select a page to feature its content. Learn more
Featured
Oct 23, 2025
Cursus Amet
Oct 23, 2025
Oct 23, 2025
Oct 16, 2025
Pellentesque Risus Ridiculus
Oct 16, 2025
Oct 16, 2025
Oct 9, 2025
Porta
Oct 9, 2025
Oct 9, 2025
Oct 2, 2025
Etiam Ultricies
Oct 2, 2025
Oct 2, 2025
Sep 25, 2025
Vulputate Commodo Ligula
Sep 25, 2025
Sep 25, 2025
Sep 18, 2025
Elit Condimentum
Sep 18, 2025
Sep 18, 2025
Sep 11, 2025
Aenean eu leo Quam
Sep 11, 2025
Sep 11, 2025
Sep 4, 2025
Cursus Amet
Sep 4, 2025
Sep 4, 2025
Aug 28, 2025
Pellentesque Risus Ridiculus
Aug 28, 2025
Aug 28, 2025
Aug 21, 2025
Porta
Aug 21, 2025
Aug 21, 2025